A sturdy pen costs at least $200, and we need lots of them. Not in the budget! We are making this one from PVC pipe and wire fencing, and our total cost will be around $25. We're modifying as we go along, and would love your input as to how we can improve the next pen.
.JPG)
Here's Marissa with the materials. We bought a 20 meter roll of 1 meter tall wire fencing, since we need to build a lot of pens. This pen is going to be 1 m by 1 m, which will use 4 m of the fencing. Woohoo! Five pens for $700 pesos, about $55 US.
We decided not to roof the pens permanently. Our canine clients are pregnant and nursing females, puppies, and elderly dogs, and probably won't be jumpers. We plan to make a few separate lids that we can attach with plastic ties when needed.
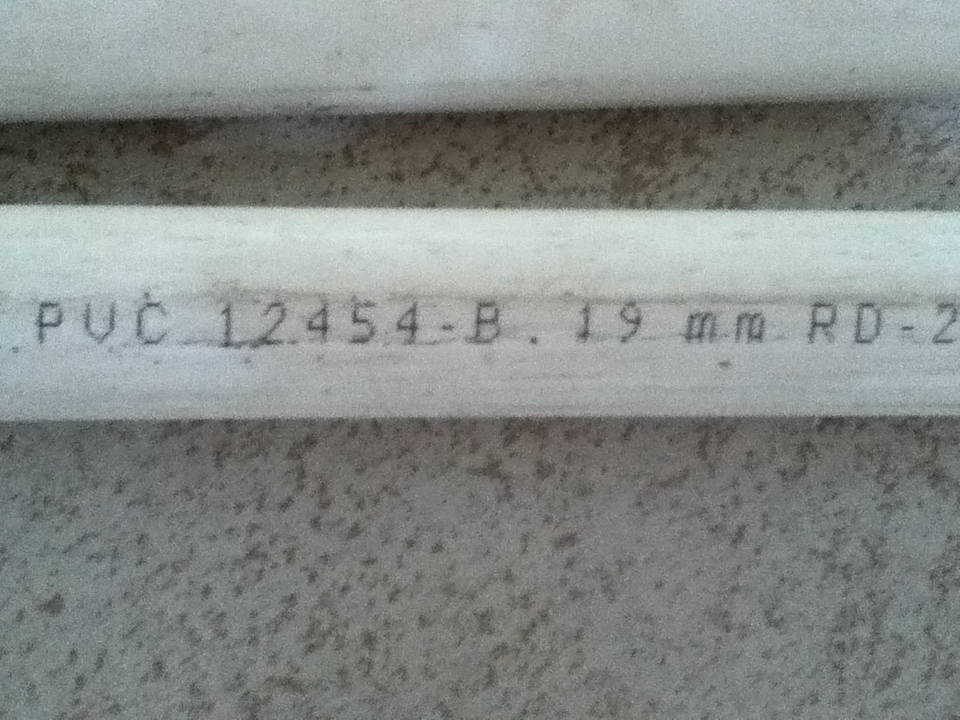
We also bought 18 meters of 19mm PVC pipe, which the young man in the store cut to 2 meter lengths so we could carry it home. The project requires a little over 16 meters of pipe.

This pen requires 19 of these connectors. Make sure the connectors match the pipe size!

First step is to cut the pipes into 1 meter lengths. Maxi wanted to help!

Next step for us was lots of thinking, planning, experimenting, wondering, trying again, etc. We used masking tape to hold our experiments together. Whew! Finally we came up with a way to attach everything that seems to be sturdy enough.

We decided to make three separate PVC squares for the three sides. We weren't sure yet how to do the door.
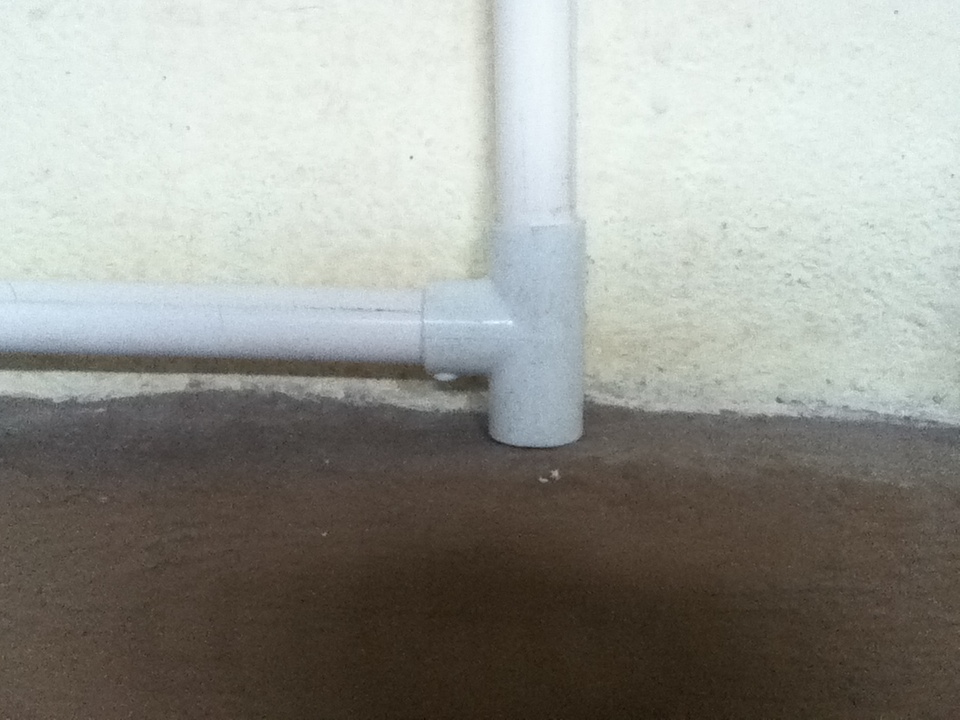
Note the direction of the connecting pieces. The extra bit serves as a little foot. Orient the top and bottom the same, or the adjoining sides won't snug up.

Next we drilled three holes each through six posts, with will be joined to become three of the corners of the enclosure. Precision would be nice, but it's hard to achieve! We found it doesn't matter if everything doesn't match up perfectly. Just get as close as you can by pairs. The idea will be to connect the corner two posts with plastic ties that also tie up with the fencing. The top and bottom of each side don't need holes drilled.
The oddity in the back of the photo is a headboard converted into a dog agility jump! We don't use it any more, since we've discovered PVC, but it got us started.

To start the first side, we had to bend the wire fence into a U. Leave lots of overlap. Read ahead to see why. It turns out we had bought REALLY sturdy fencing, and it was almost impossible to bend! This may have been the physically hardest part of the whole project!

Next, slide in a pole. Pick a pole that does not have holes drilled. The next few steps will attach it all the way down with plastic ties. It took us about an hour to do this one pole. Not easy, but if we can do it, so can you!

Pinch the wire together with pliers and attach a plastic tie to across both X's. This is a two person job!

Now pinch and add a second plastic tie around the next pair of X's horizontally. This is why you make the original U quite long, so you have two separate sets of X's to twist tie together.

Straighten out and pinch together the loose end of the wire fencing. Wrap it as tightly as you can with many wraps of duck tape, at least ten times around. We don't want either the dogs or the volunteers to be cut by these sharp wires!
.JPG)
Repeat until the whole pole is attached. Whew! Like I said, it took us a good hour to do this one pole, though we did get faster and and the joins got prettier with practice. Marissa is a medical doctor, and it got to be a bit like suturing up after an operation! The good news it that you only need to do this twice for the whole pen. The rest of the joins we just tie three times and keep going.

Flatten the fencing as best you can along the first side and attach it at the top and bottom with plastic ties. We'll go back and add more ties later. We have a lot of young volunteers, and this is something they can do. They can also cuts the ends of the plastic ties and wrap the joins with duck tape for even more security.

In the first corner, attach the two sides with plastic ties through the two sets of holes AND through the fencing. A trick is to get all three ties through the four holes before you start tightening them.

Once the corner is cinched up, press on the fencing to mold it into shape. You can see now why the connectors have the be lined up as they are. Otherwise they would push the corner poles apart. You could use elbows here instead of T-connectors.

Repeat the process for the next side. First attach the fencing top and bottom to the pole with plastic ties. Wire up the corner. Lastly, push the fencing into the 90 degree angle shape.

You now have a cube with three sides, sort of. The fencing was so strong that we realized we'd need some sort of fourth side, and not just a great big door. We added short extenders to the fourth side corners so we could put a bar on top for added stability. We also plan to brace the upper corners with bolted wooden cross pieces, as shown in red on the photo. No braces on the bottom corners, as the dogs will just chew them up!

We cut two more one-meter posts, and two shorter posts, 22 cm, and attached them into a rectangle just like the other sides but narrower. We also cut another very short post to match the height to the crossbar (1). We still need to cut the top bar and put in the connector (1). Tomorrow we will wire around the corner as before (left side of photo), and then we'll close off with the time-consuming wrap around the end pole (2).
We still haven't figured out how to do the door. Please send your suggestions!! I tried the wire rack from my stove, thinking we could get old ones easily, but it's not tall enough. What repurposing ideas can you suggest??
We do have an idea for the next time to place the door in the middle of a side. By bracing all four corners, we hope to not need a bar over the doorway, which will make it easier for humans to get in and out. When we get one made, I'll post a photo.
Also, we are placing hooks along the concrete walls to attach the cages with plastic ties. That way we can move the cages into whatever configuration we need at the time, and the dogs won't be able to move the cages around.
These cages are quite large, and will be fine for all but the largest dogs. Our next project is to make an enclosure that measures 1 meter by 1.5 meters, which we think will be perfect for mamas with litters. The maternity ward has room for five litters at a time. Lots of building to do!
Thanks for stopping by today! If you have questions, suggestions, or other thoughts, please leave a comment. We are looking for all the ideas we can get!
You may be interested in these related posts.
ReplyDeleteTall cabinets on the left, sink in front/center, and the washer and dryer on on the right with cabinets and hanging bar over the top. This room got SMALL real fast! horse fence